
RV and trailer wiring: securing cables without drilling
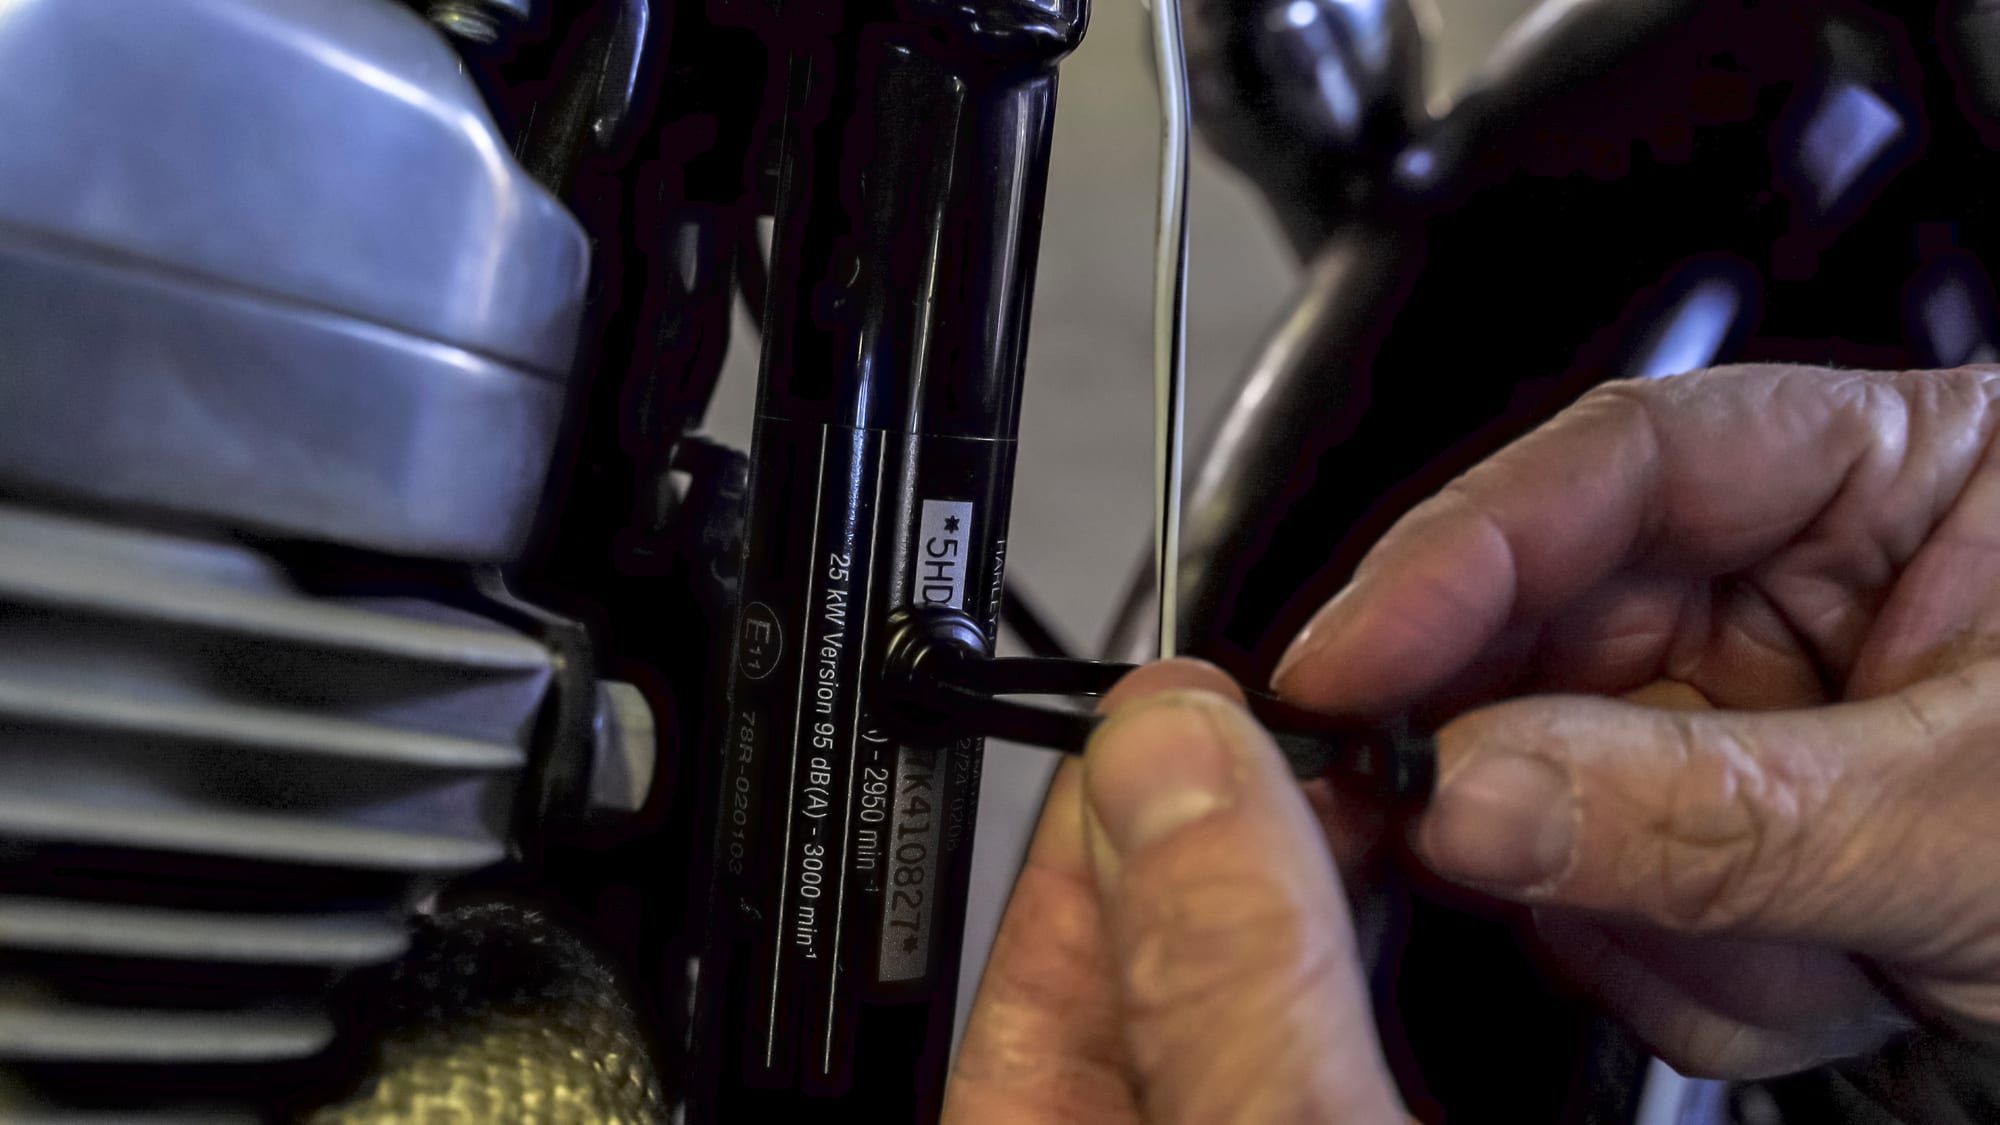
Every hole drilled in an RV or trailer is a place for water to get in, and a hole you can’t take back. For tidying and routing cables on steel parts of the rig, magnetic mounts and zip ties do the job without drilling, and they come off when you change the setup.
Step 1: Find out which parts are steel
RVs and trailers mix materials. A magnet test before you plan anything saves frustration.
- Usually steel: the chassis frame, trailer tongue and A-frame, steel bumpers, many steel storage boxes and racks.
- Usually not magnetic: aluminum siding and skins, fiberglass walls, aluminum truck bodies and toolboxes, most stainless steel.
Some newer pickup trucks have aluminum bodies, so test the bed and body panels too.
Step 2: Decide what the mounts are for
Good jobs for magnetic mounts:
- Keeping a trailer light harness tidy along the tongue
- Routing solar, camera or accessory cables along a steel frame or rack
- Holding shore power and hose bundles neatly inside steel storage bays
- Temporary runs at a campsite that you remove before you drive
Brake and safety wiring: for anything the rig needs to stop or signal safely, follow the vehicle or trailer maker’s instructions for how it must be secured. Use magnetic mounts there only as an extra tidy-up, not as the main fixing.
Step 3: Plan the route
- Stay clear of the exhaust, the brakes, suspension parts, the driveshaft and anything that moves or gets hot.
- At the hitch, leave enough slack for the tightest turn, and keep the cable from dragging on the ground.
- Follow existing frame rails where you can; they give a straight, protected path.
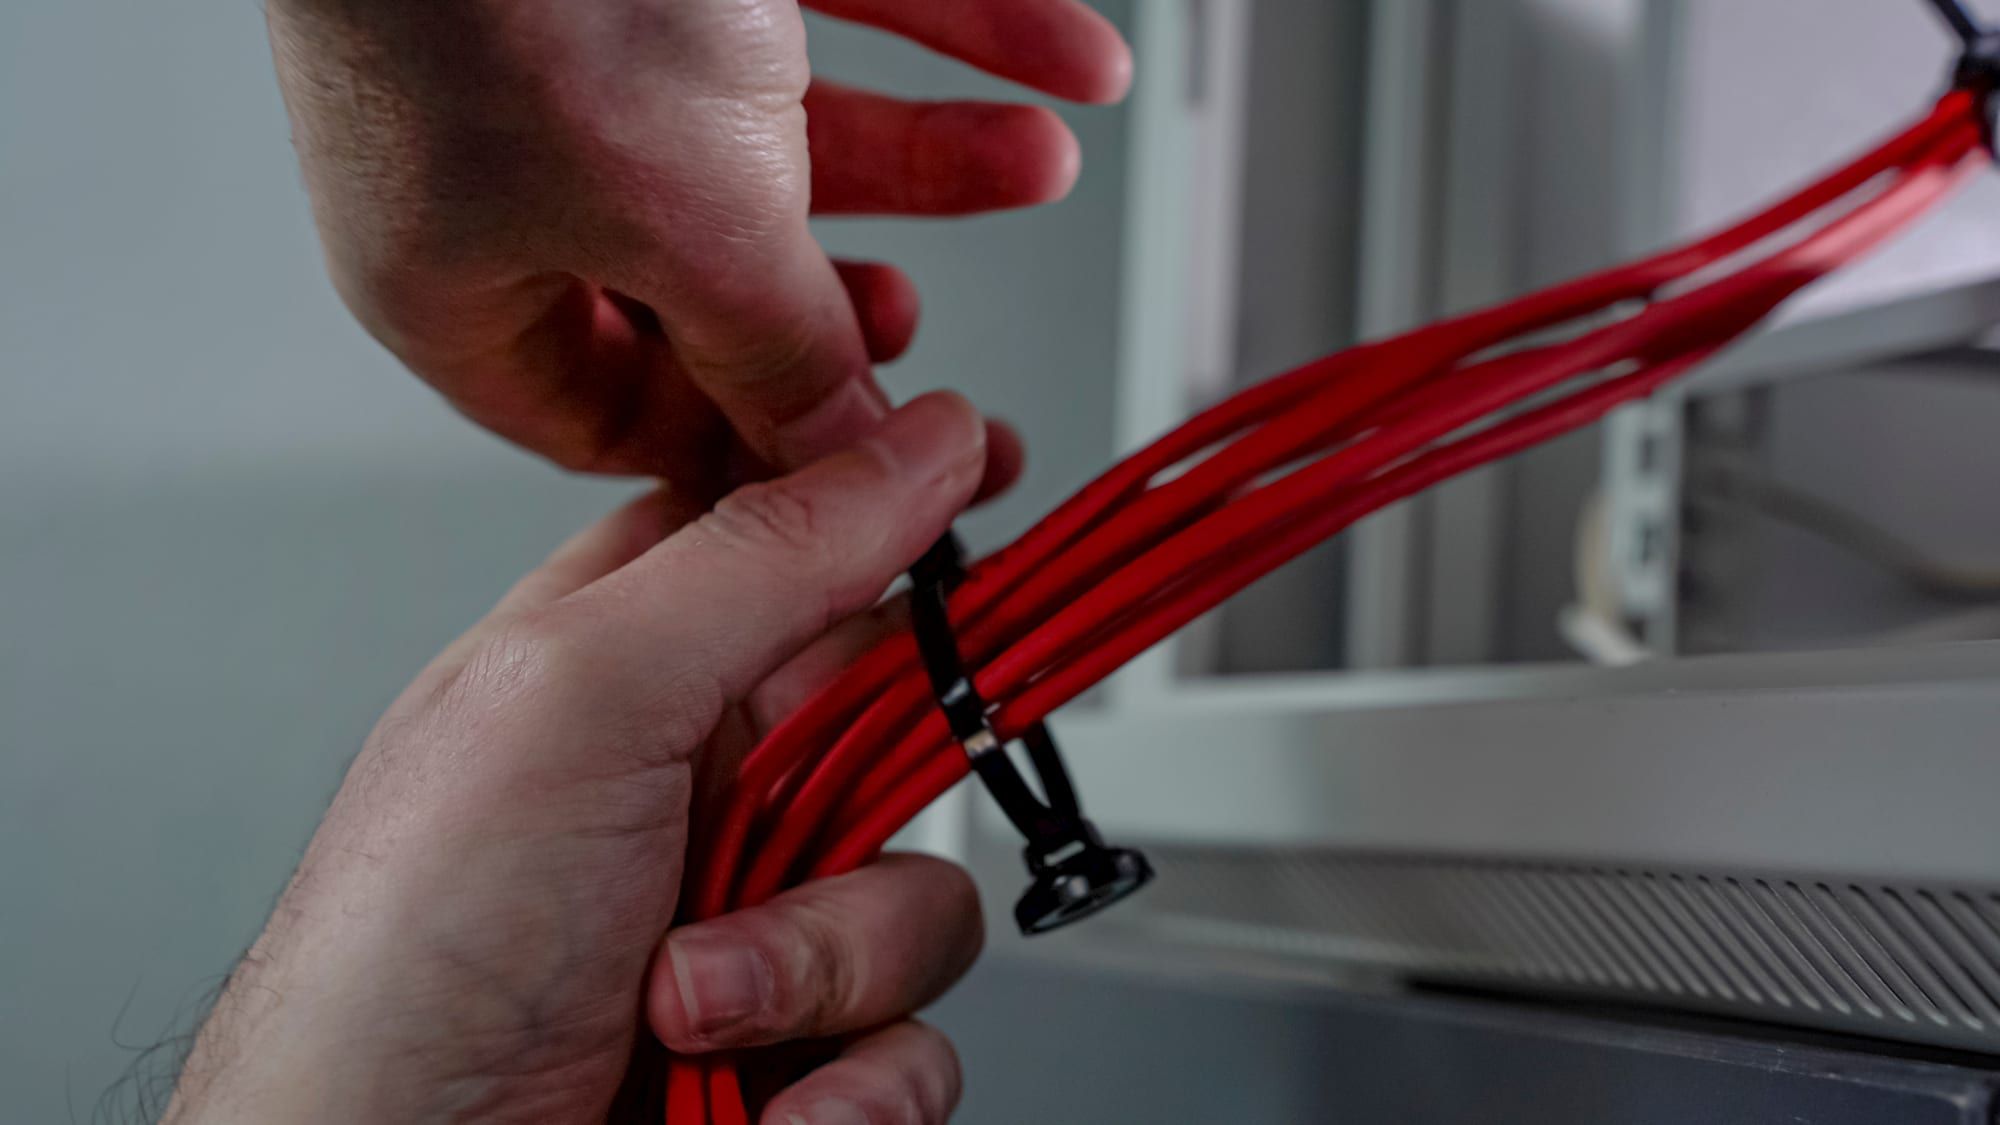
Step 4: Mount and tie
- Clean the steel where each mount goes. Dirt and road grime reduce grip.
- Snap the mount on, thread the zip tie around the cable and pull it snug without crushing the insulation.
- Space mounts closer together than you would indoors; a foot apart is a sensible start on a moving vehicle.
- Put a mount on each side of any bend.
Step 5: Check before every trip
Vibration and road spray work on every fixing on a vehicle. Before you drive:
- Walk around and make sure every mount is still where you put it.
- Check that no cable is hanging low or rubbing on anything.
- After the first few miles of a new setup, stop and look again.
The magnets are triple-plated for outdoor use. Lift them off, rather than sliding them, if you need to move them on a painted surface.